Software Installation for the Network Connection Environment
16-Dec-2011
8200754900
Solution
NOTE
- Make sure the network cable is connected to the machine.
- Make sure an IP address is assigned to the machine.
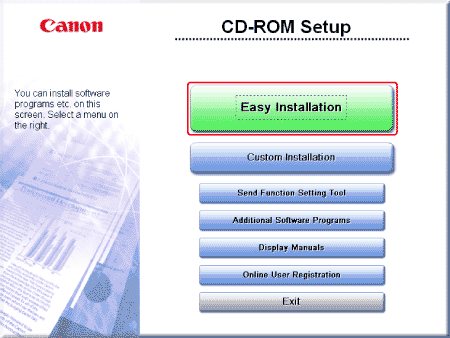
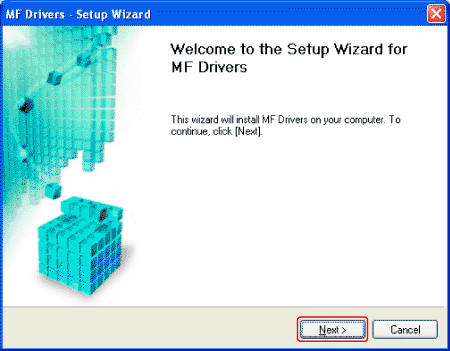
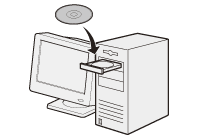
1. Insert the User Software CD-ROM.

2. Click [Easy Installation].
NOTE
- The options to be displayed differ depending on your country or region.
- If the CD-ROM Setup screen above is not displayed automatically.
- Windows XP: Click [start] on the Windows task bar → [My Computer] → CD-ROM icon.
- Windows 2000: Double-click [My Computer] on the Windows desktop → CD-ROM icon.
- Windows Server 2003: Click [Start] on the Windows task bar → [My Computer] → CD-ROM icon.
- Windows Vista/Server 2008/7: Click [Start] on the Windows task bar → [Computer] → CD-ROM icon.
Right-click the CD-ROM icon and select [Open], then double-click [MInst] ([MInst.exe]).
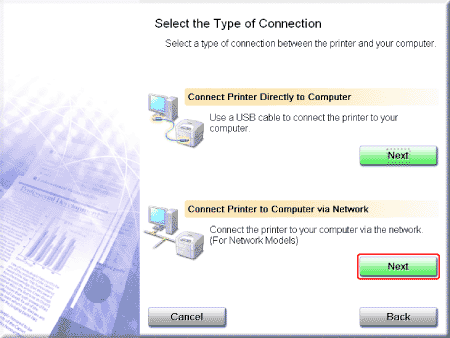
3. Click [Next] in [Connect Printer to Computer via Network]. (Windows 2000 Professional/XP/Vista/7 Only)
4. Click [Install].

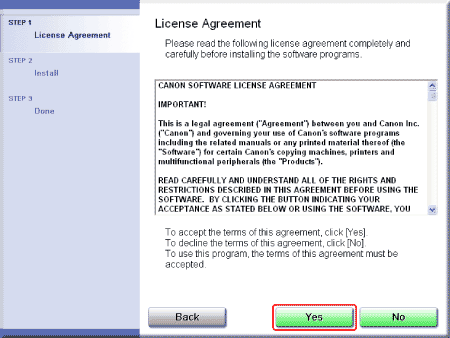
5. Read the contents of License Agreement, and then click [Yes].
6. Click [Next].
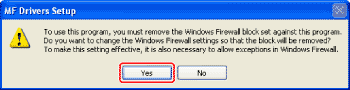
NOTE
If the following screen appears, click [Yes].
7. Select the device to be installed.
(1) Select the device.
(2) Click [Next].
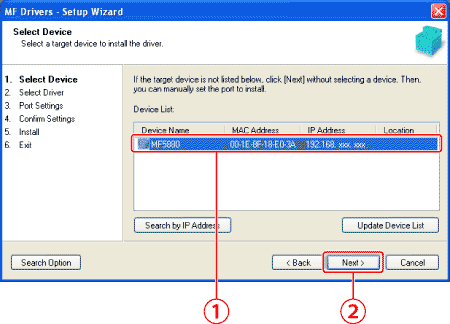
NOTE
- If no devices are displayed in [Device List], perform the following procedure.
1. Check the following.
- The computer and device are connected via the network.
- The device is turned on.
- IP address is set correctly.
- The computer and device are on the same subnet.
2. Click [Update Device List].
- If any devices are not displayed by performing the above procedure, perform the following procedure.
1. Click [Search by IP Address].
2. Enter the IP address of the device to be installed.
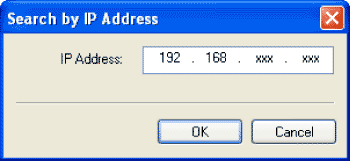
* If the number within a segment begins with a zero (0), you can omit the zero (0) at the beginning.
Example: 123.034.050.006 = 123.34.50.6
3. Click [OK].
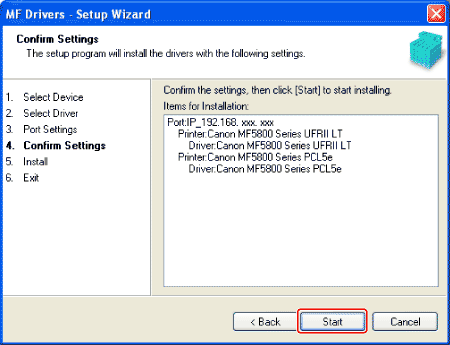
8. Installation starts when clicking [Start].
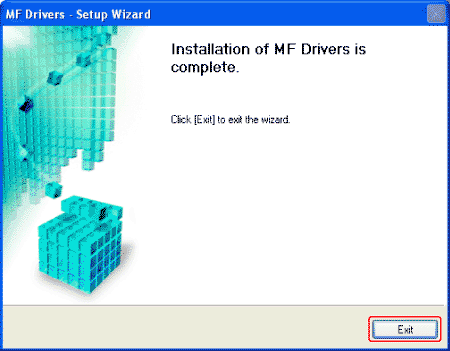
9. Click [Exit].
NOTE
Next, installation of the MF Toolbox starts.
In Windows Server/Server 2003/2008, MF Toolbox is not installed. Proceed to Step 12.
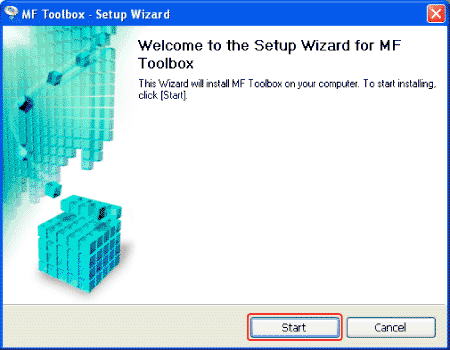
10. Click [Start].
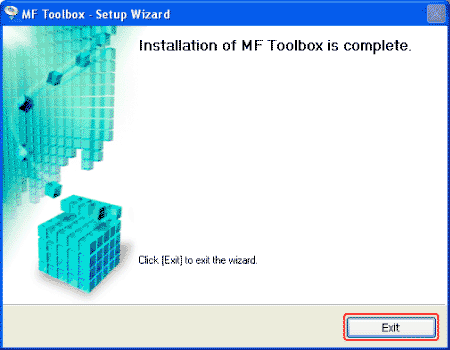
11. Click [Exit].
12. Check [  ] is selected in [Install], and then click [Next].
] is selected in [Install], and then click [Next].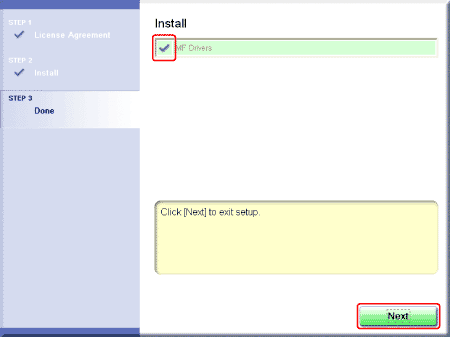
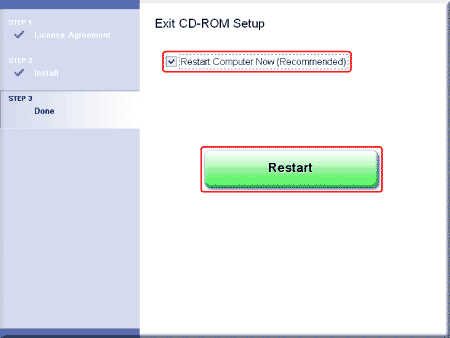
13. Restart your computer.
13-1. Select the [Restart Computer Now (Recommended)] check box.
13-2. Click [Restart].
NOTE
If this screen appears, you can remove the CD-ROM from the CD-ROM drive.
1. Insert the User Software CD-ROM.
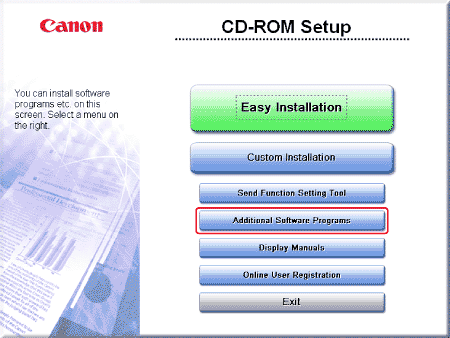
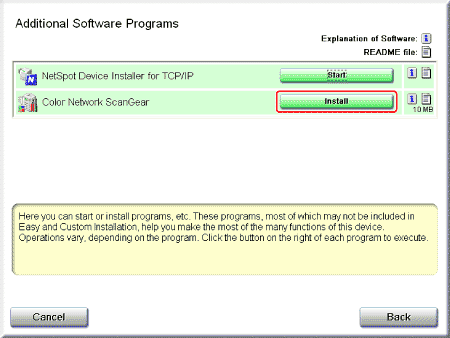
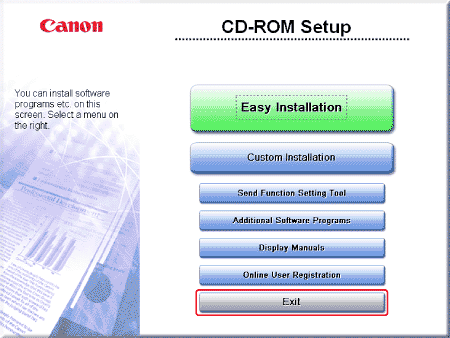
2. Click [Additional Software Programs].
NOTE
- The options to be displayed differ depending on your country or region.
- If the CD-ROM Setup screen above is not displayed automatically.
- Windows XP: Click [start] on the Windows task bar → [My Computer] → CD-ROM icon.
- Windows 2000: Double-click [My Computer] on the Windows desktop → CD-ROM icon.
- Windows Server 2003: Click [Start] on the Windows task bar → [My Computer] → CD-ROM icon.
- Windows Vista/Server 2008/7: Click [Start] on the Windows task bar → [Computer] → CD-ROM icon.
Right-click the CD-ROM icon and select [Open], then double-click [MInst] ([MInst.exe]).
3. Select [Install].
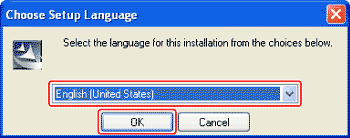
4. Select the same language as your operating system.
4-1. Select a language from the drop down list.
4-2. Click [OK].
NOTE
If you selected a language that is not same as your operating system, the characters may be garbled.
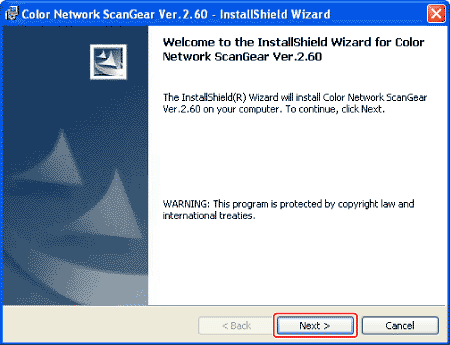
5. Click [Next].
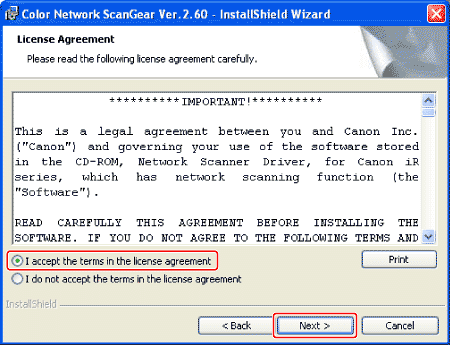
6. Read the contents of License Agreement.
6-1. Select [I accept the terms in the license agreement].
6-2. Click [Next].
7. Click [Next].
NOTE
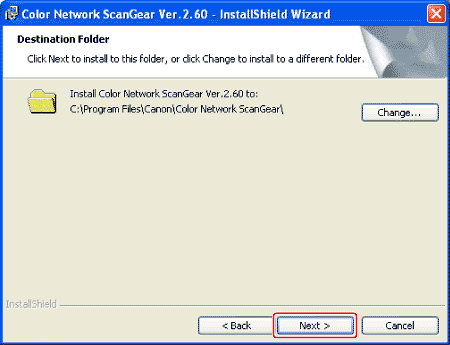
If necessary, specify a location in which the MF Toolbox is installed by clicking [Change].
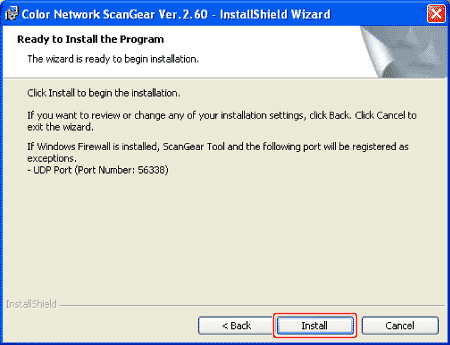
8. Click [Install].
NOTE
If an error message is displayed indicating that registration of ScanGear Tool or a UDP port as an exception in Windows Firewall has failed, manually register ScanGear Tool and/or the UDP port as an exception in Windows Firewall after installation has finished.
9. Click [Finish].

NOTE
The Readme file opens. After reading it, close the window.
10. Click [Back].
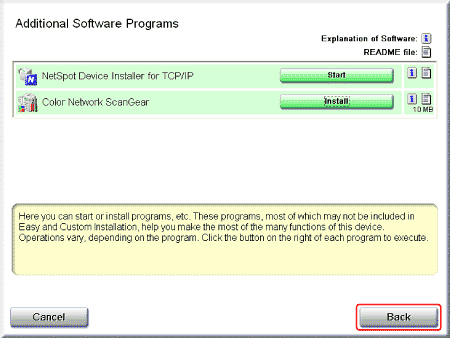
11. Click [Exit].
NOTE
- After clicking [Exit], you can remove the CD-ROM from the CD-ROM drive.
- Next, select the Color Network ScanGear to be used.
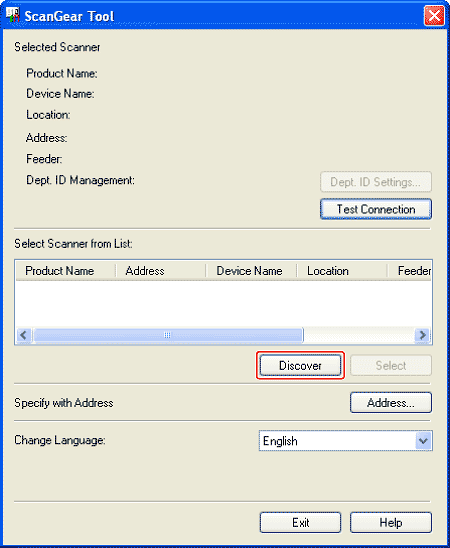
12. Start the ScanGear Tool.
On the [Start] or [start] menu, point to [Programs] or [All Programs] → [Color Network ScanGear] → click [ScanGear Tool].
13. Click [Discover].
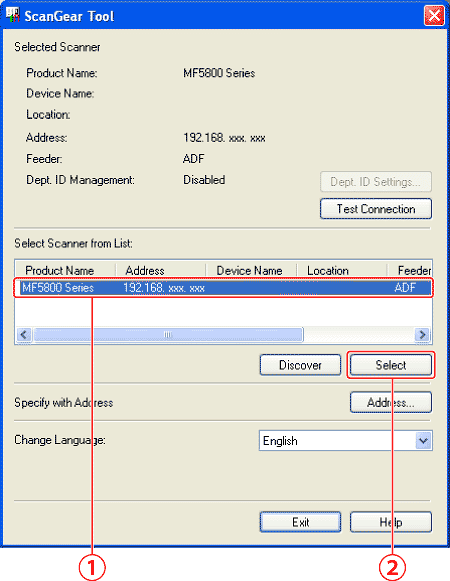
14. Select the device to be installed.
(1) Select the device.
(2) Click [Select].
NOTE
- If no devices are displayed in [Select Scanner from List], perform the following procedure.
1. Check the following.
- The computer and device are connected via the network.
- The device is turned on.
- IP address is set correctly.
- The computer and device are on the same subnet.
2. Click [Discover].
- If any devices are not displayed by performing the above procedure, perform the following procedure.
1. Click [Address].
2. Enter the IP address or Host Name of the device to be installed.
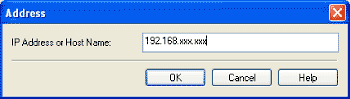
* If the number within a segment begins with a zero (0), you can omit the zero (0) at the beginning.
Example: 123.034.050.006 = 123.34.50.6
* It is possible to specify an IP address or host name outside the subnet.
3. Click [OK].
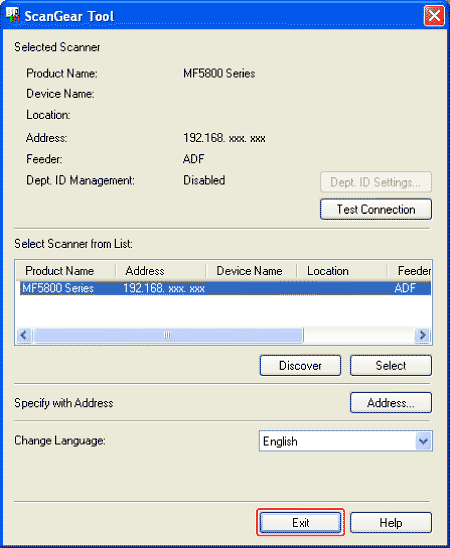
15. Click [Exit].
The settings are saved and the ScanGear Tool is closed.
Verify that the driver has been installed successfully and that the machine has been set as the default printer.
NOTE
- If the name of the machine is selected on the [Printer] screen from an application, it is set as the default printer.
- This machine is compatible with Bonjour. If your network environment corresponds to Bonjour, this machine can be used as a printer with/without DHCP function in a server or a router.
1. Open the folder for printers, then verify that the corresponding printer driver icon is displayed.
Windows XP:
- Click [start] on the Windows task bar →[Printers and Faxes].
Windows 2000:
- Click [Start] on the Windows task bar →[Settings] →[Printers].
Windows Server 2003:
- Click [Start] on the Windows task bar →[Printers and Faxes].
Windows Vista:
- Click [Start] on the Windows task bar →[Control Panel] →[Printers].
Windows Server 2008/7:
- Click [Start] on the Windows task bar →[Devices and Printers].
UFRII LT Printer driver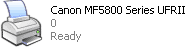 | Fax driver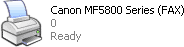 |
2. Set your machine as the default printer.
Select the printer icon for this machine, then select [Set as Default Printer] from the [File] menu.
3. Verify that [Color Network ScanGear] appears in the [All Programs] or [Programs].
-
Color Network ScanGear